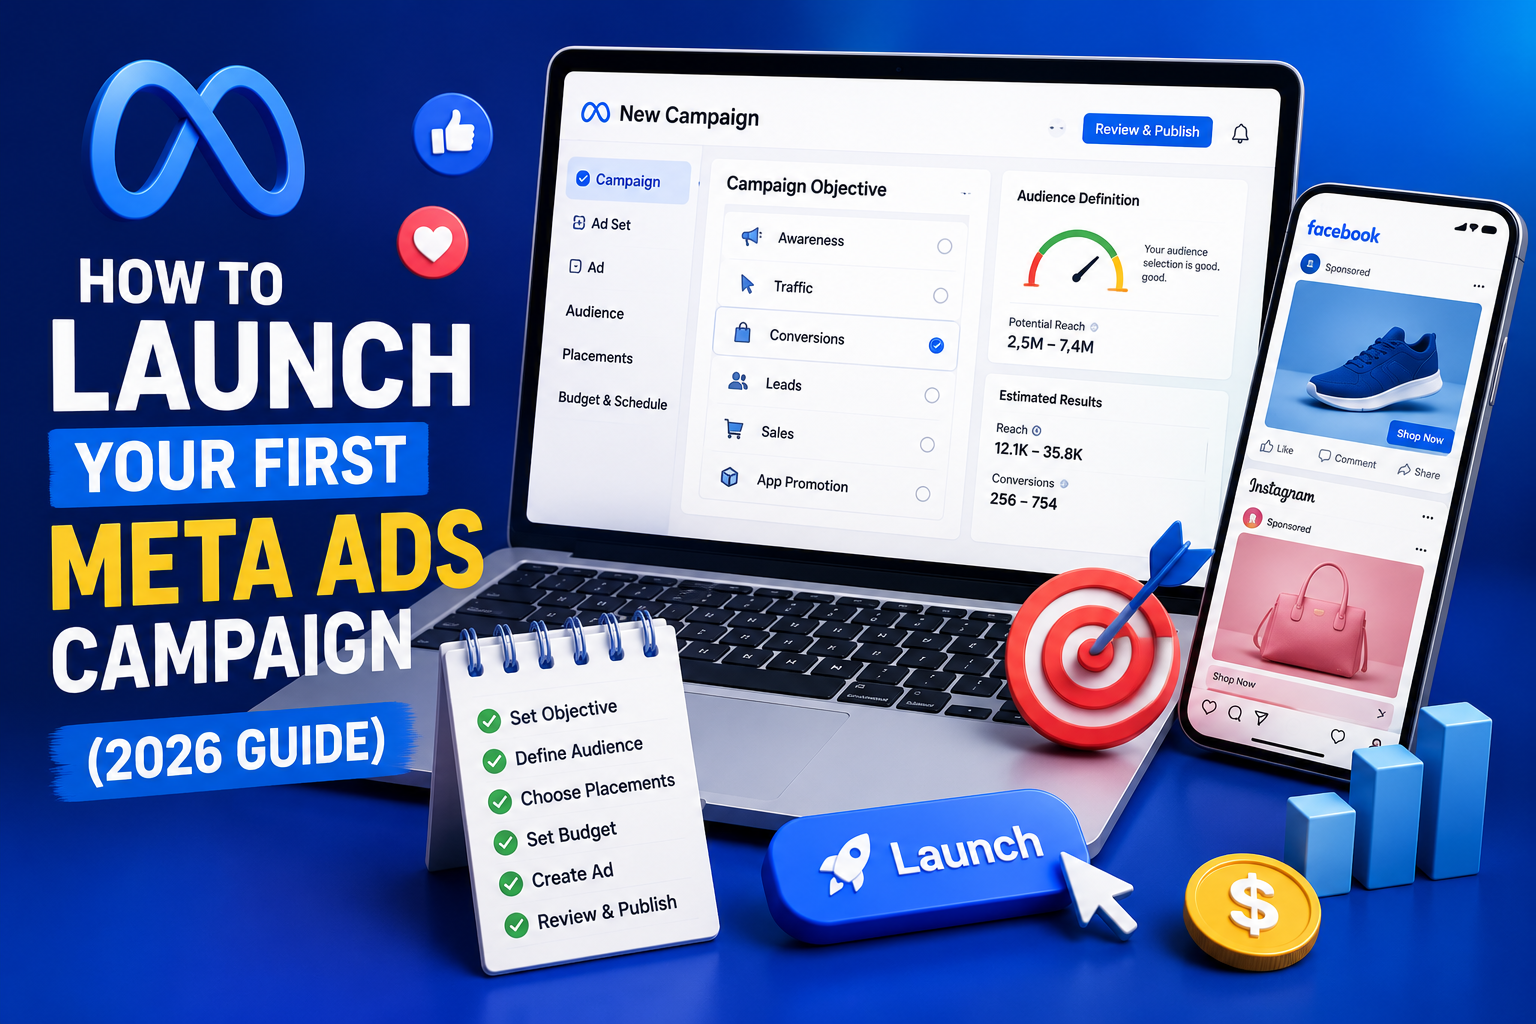
Meta Ads are still one of the fastest ways to get in front of the right people at scale. That said, if you’ve never opened Ads Manager before, it can feel like a lot. Objectives, audiences, placements, budgets, pixels. It’s genuinely easy to get one small thing wrong in your first week and spend days wondering why the campaign just isn’t moving. Here’s how we’d actually set this up if you were a new client at The Brand Hawk, so your first Meta Ads campaign has a real shot at working from day one.
Why Meta Ads Still Matter in 2026
Facebook and Instagram combined still reach well over 3 billion people. What’s changed over the years isn’t reach so much as competition — there’s a lot more noise now, so targeting and creative quality matter more than they used to. For most brands we work with, D2C or service-based, Meta is still the fastest place to test a new offer and see real signal within a week or two, before spreading budget across other platforms.
Step 1: Set Up Your Meta Business Suite and Ads Manager
Create a Meta Business Suite account, then connect your Facebook Page and Instagram profile. Ads Manager lives inside Business Suite, and everything from here gets built and monitored there. One thing worth double-checking before anything else: your billing details. It sounds minor, but an incomplete billing setup is honestly the most common reason we’ve seen a first campaign never go live at all.
Step 2: Define Your Campaign Objective
Meta builds campaigns around what you’re trying to achieve, not the ad format itself. Awareness, Traffic, Engagement, Leads, Sales — those are the ones you’ll actually use. Pick whichever one matches what you genuinely want to happen next. If you’re not ready to sell directly off the ad yet, go with Traffic or Leads. Jumping straight into Sales with zero pixel history usually just wastes the first week or two of budget.
Step 3: Set Up Audience Targeting
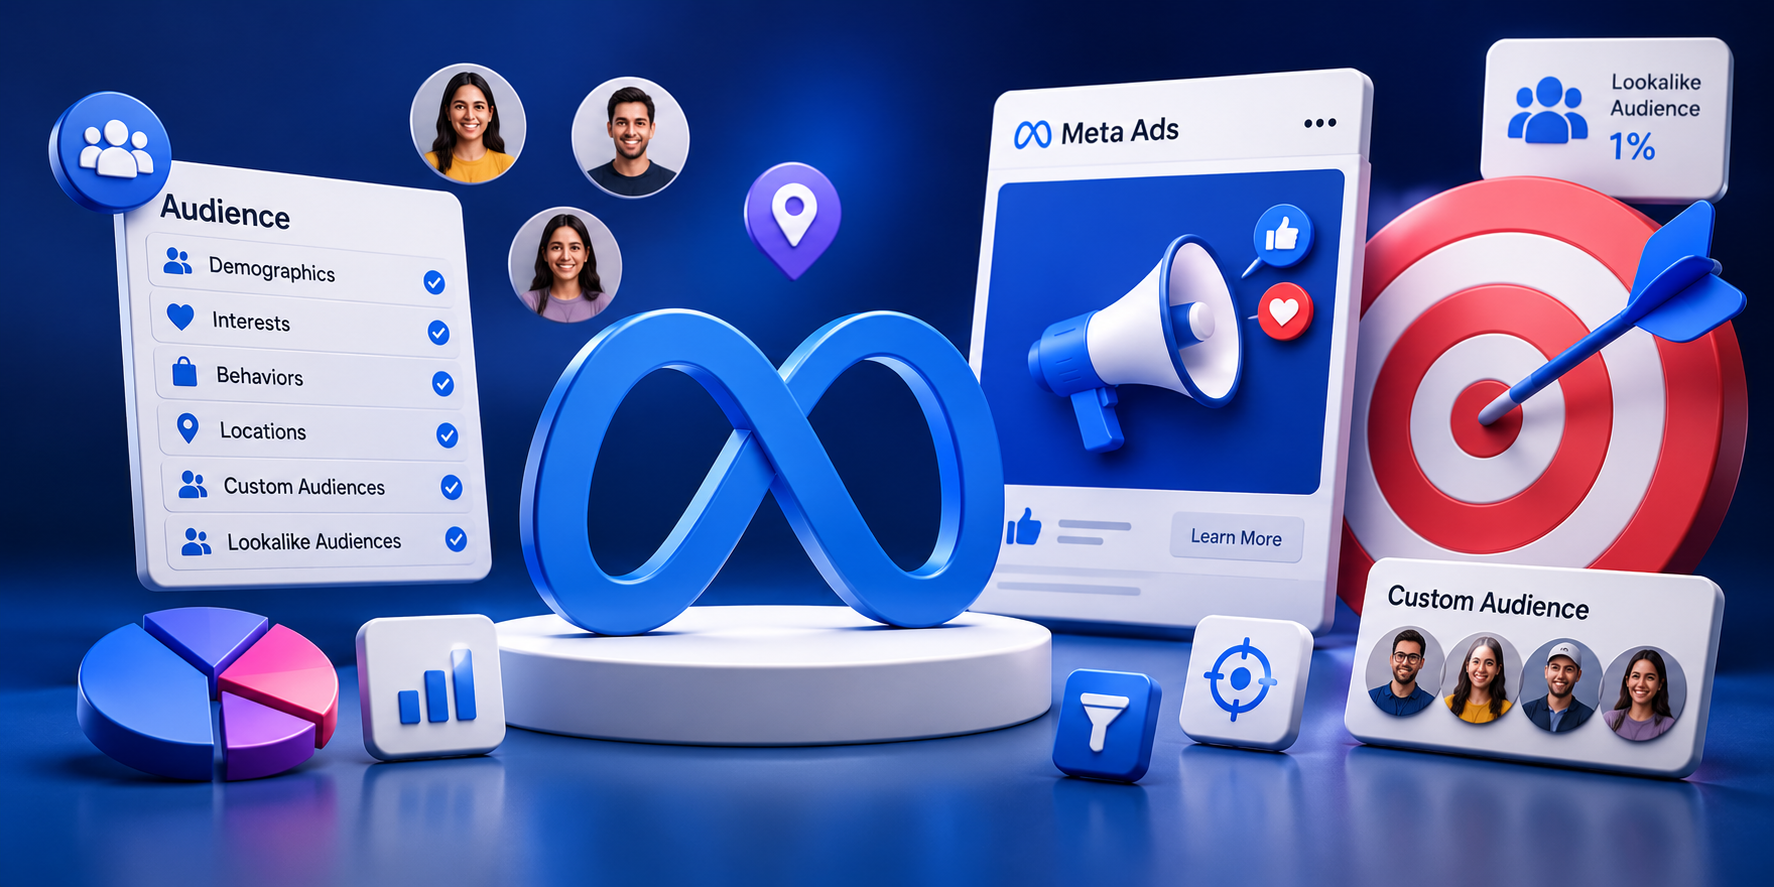
Your first audiences need to be broad enough for the algorithm to actually find a pattern, but still close enough to your customer that the traffic means something. A structure that tends to hold up:
- One core interest-based audience tied to your product or service
- A lookalike audience built from site visitors or your customer list, once you have that baseline data
- A smaller retargeting audience for people who visited but didn’t convert
Don’t narrow this too much on the first run. We’ve tested this across dozens of accounts in very different industries, and broader targeting with real budget behind it almost always beats a tightly squeezed audience that never gets enough data to learn from.
Step 4: Set Your Budget and Bidding Strategy
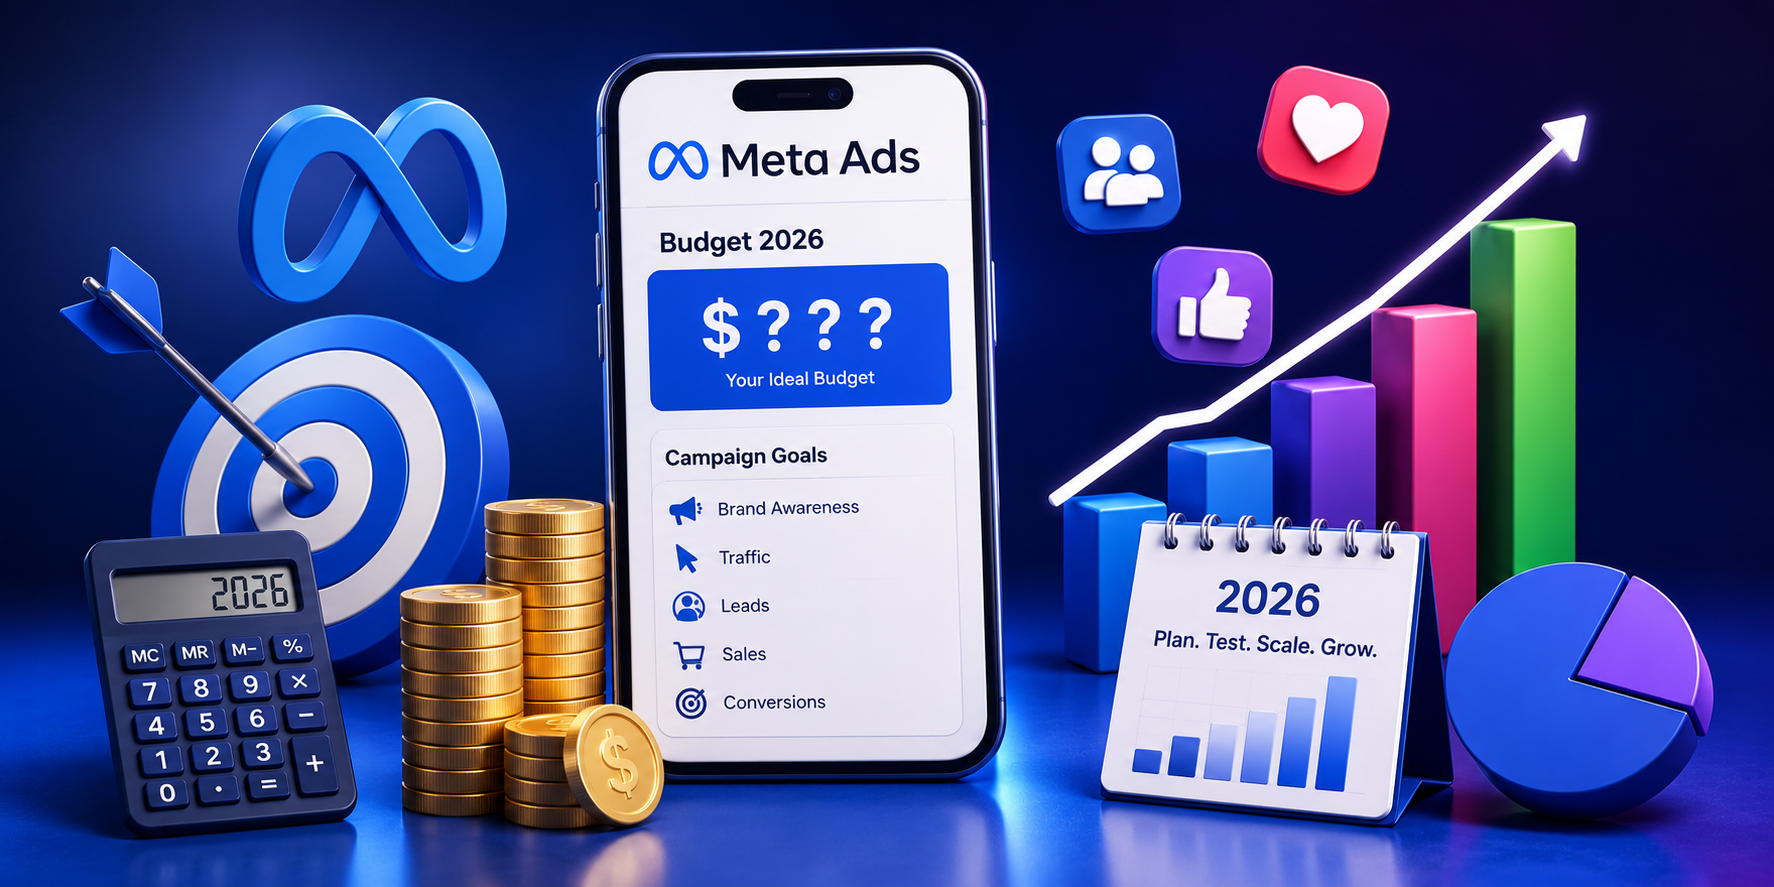
Go with a daily budget rather than a lifetime one while you’re still learning how the account behaves. Pick a number you can leave untouched for at least 3 to 5 days. Every time you edit the campaign, the learning phase resets, and that’s a quieter problem than most people realize — it’s often the actual reason a campaign never seems to “settle.” Stick with Highest Volume bidding to begin with. Bid caps make a lot more sense once you have cost data to base them on.
Step 5: Create Your Ad Creative
This is the part that actually moves the needle most. Not targeting, not bidding — creative. Aim for at least 3 or 4 variations before you launch: a couple of static images, one short video, and a UGC-style clip if you can get your hands on one. Lead with the offer or the problem in your very first line. Keep the copy simple. And always leave the reader with one obvious next step.
Step 6: Install the Meta Pixel and Conversions API
Get the Meta Pixel installed before you launch, and pair it with the Conversions API if at all possible. Since iOS privacy changes limited what a browser-based pixel can see on its own, server-side tracking has quietly become one of the more important pieces of the setup. Without solid conversion data, the algorithm is basically optimizing half-blind, and that shows up in the results even when your targeting and creative are both genuinely good.
Step 7: Launch and Monitor Performance
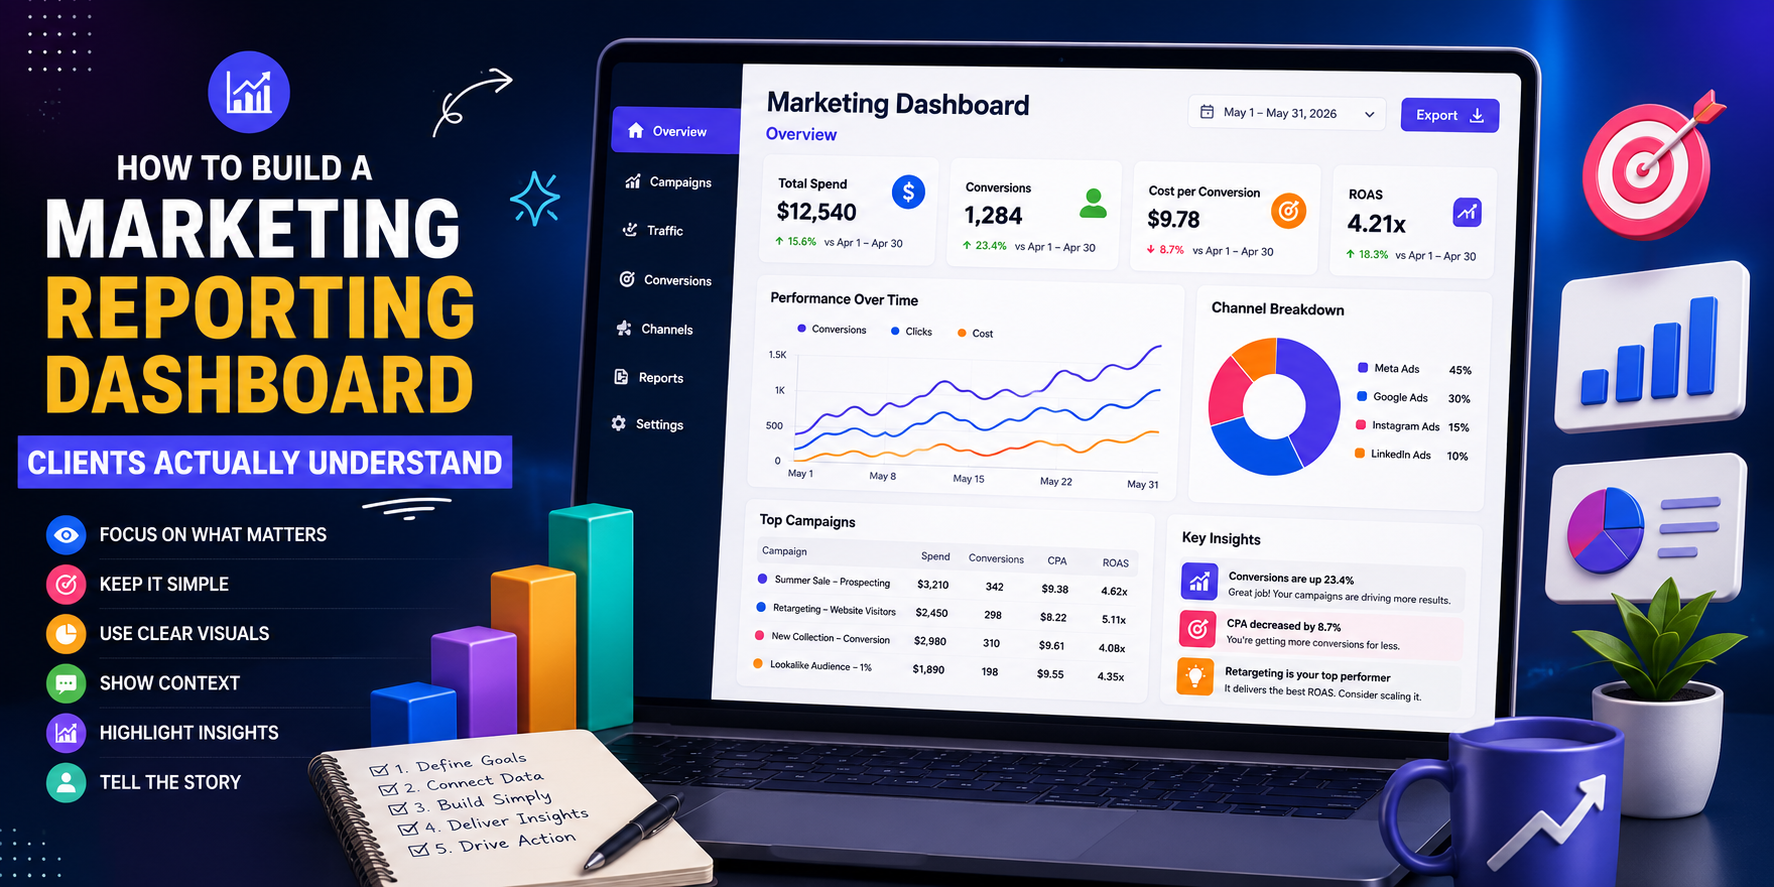
Try not to refresh Ads Manager every hour once it’s live. Easier said than done, we know. Give it 3 to 5 days before touching anything. Watch cost per result and click-through rate first, then return on ad spend once there’s enough volume to trust the number. Reach and impressions look good in a screenshot. They don’t tell you much about whether the thing is actually working.
Common Mistakes First-Time Advertisers Make
- Changing budgets or targeting daily, which keeps resetting the learning phase
- Launching with just one ad creative instead of a few variations
- Skipping Pixel or Conversions API setup before going live
- Targeting too narrow an audience for the budget you actually have
- Judging performance too early, before the algorithm has enough data to work with
Thinking About Handing This Off?
If reading all of this made you think “I’d rather just have someone else handle it” — that’s a pretty normal reaction, and it’s exactly the gap we fill at The Brand Hawk. We run Meta Ads campaigns end-to-end for brands who’d rather focus on the business itself: strategy, creative testing, budget scaling, and reporting that actually explains what’s working instead of just listing numbers. If you want a second opinion on your account, or want us to build and run this first campaign for you, reach out to The Brand Hawk and we’ll walk you through exactly how we’d approach it.
Final Thoughts
Launching your first Meta Ads campaign doesn’t have to be complicated. The steps above cover what you actually need to go live on solid footing. The real gains come later, through consistent creative testing, careful scaling, and clean tracking underneath it all. And if at some point you’d rather hand that off to a team that does this every day, The Brand Hawk is set up to do exactly that.